
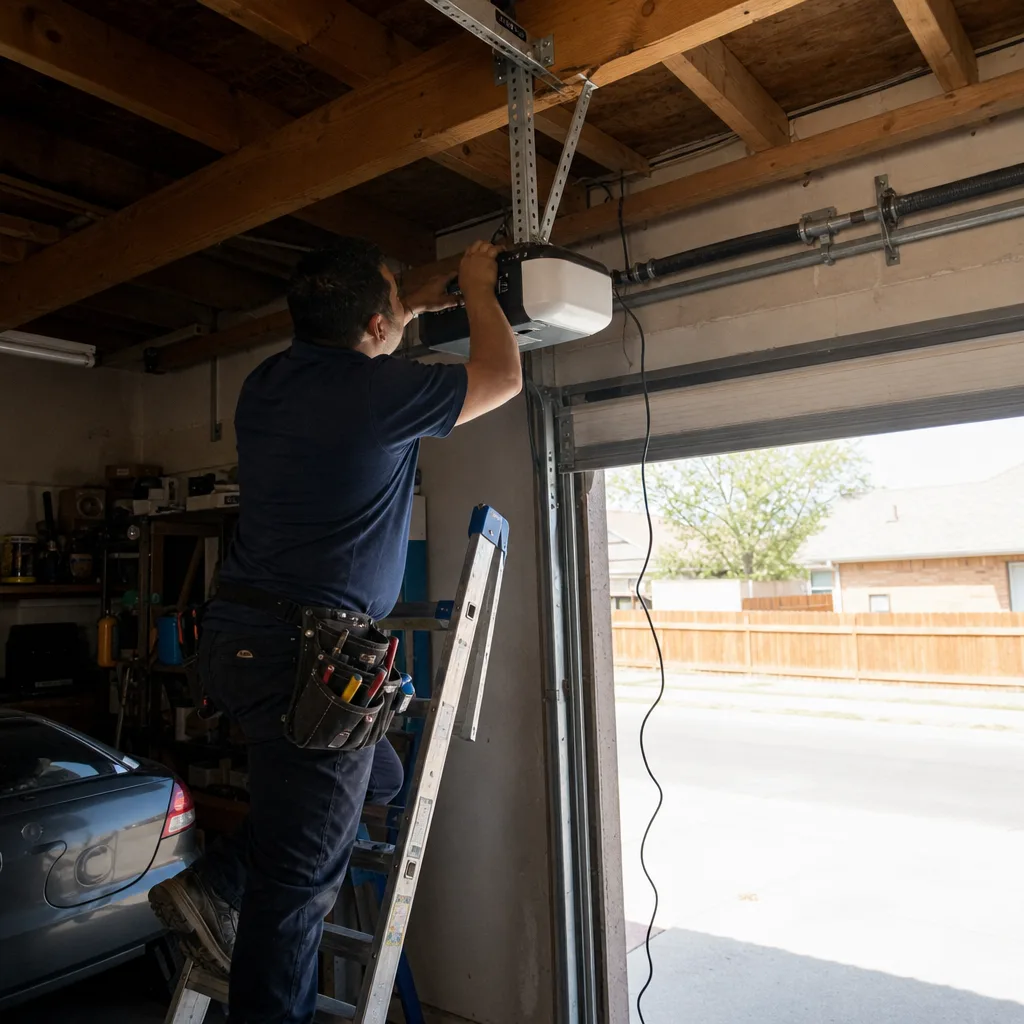
Last updated November 15, 2026
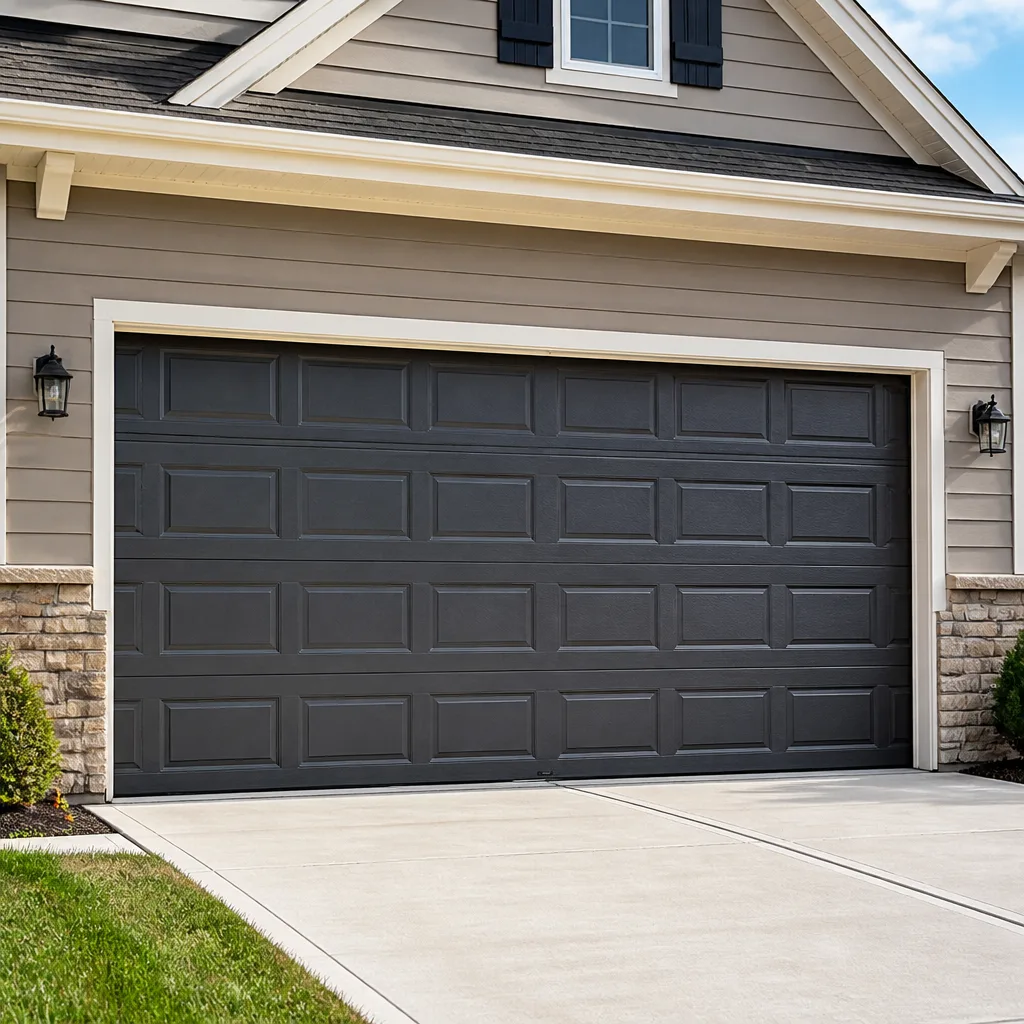 Raised-panel steel
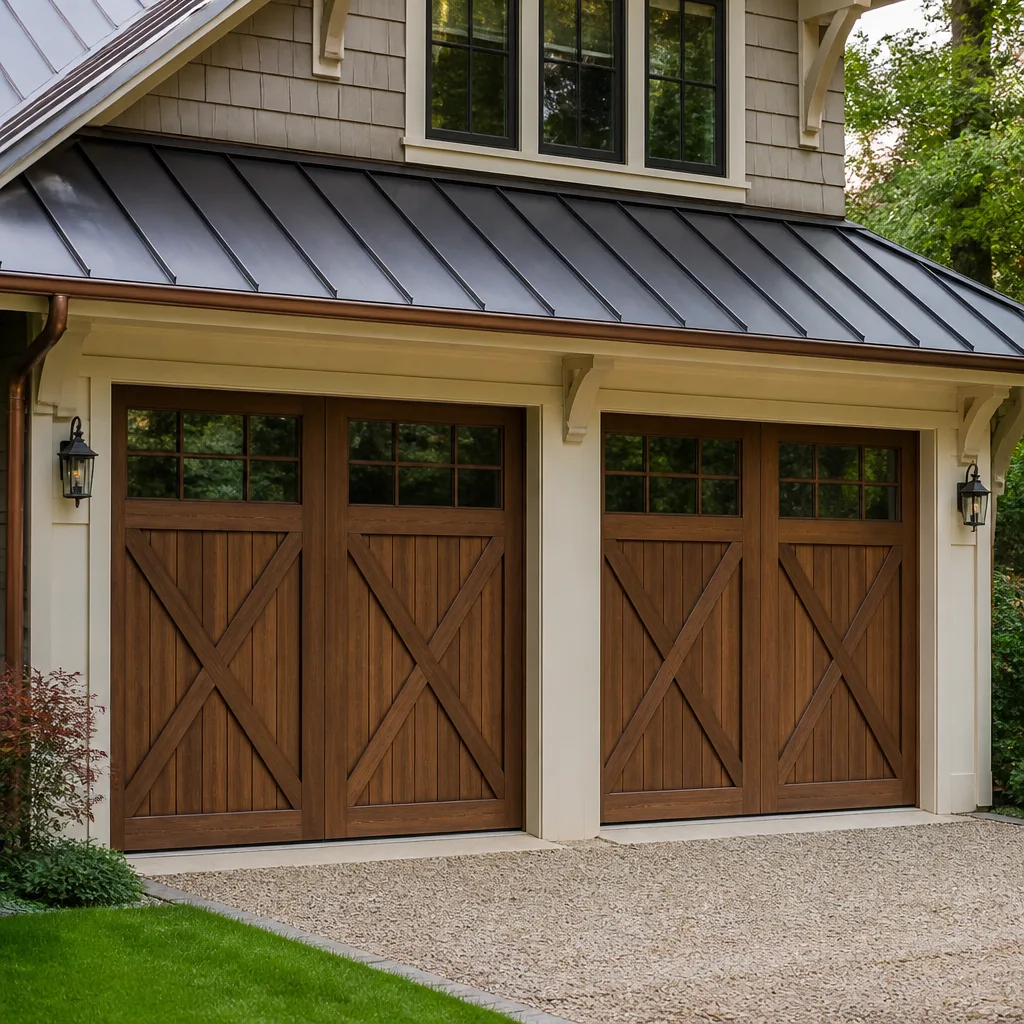 Carriage house
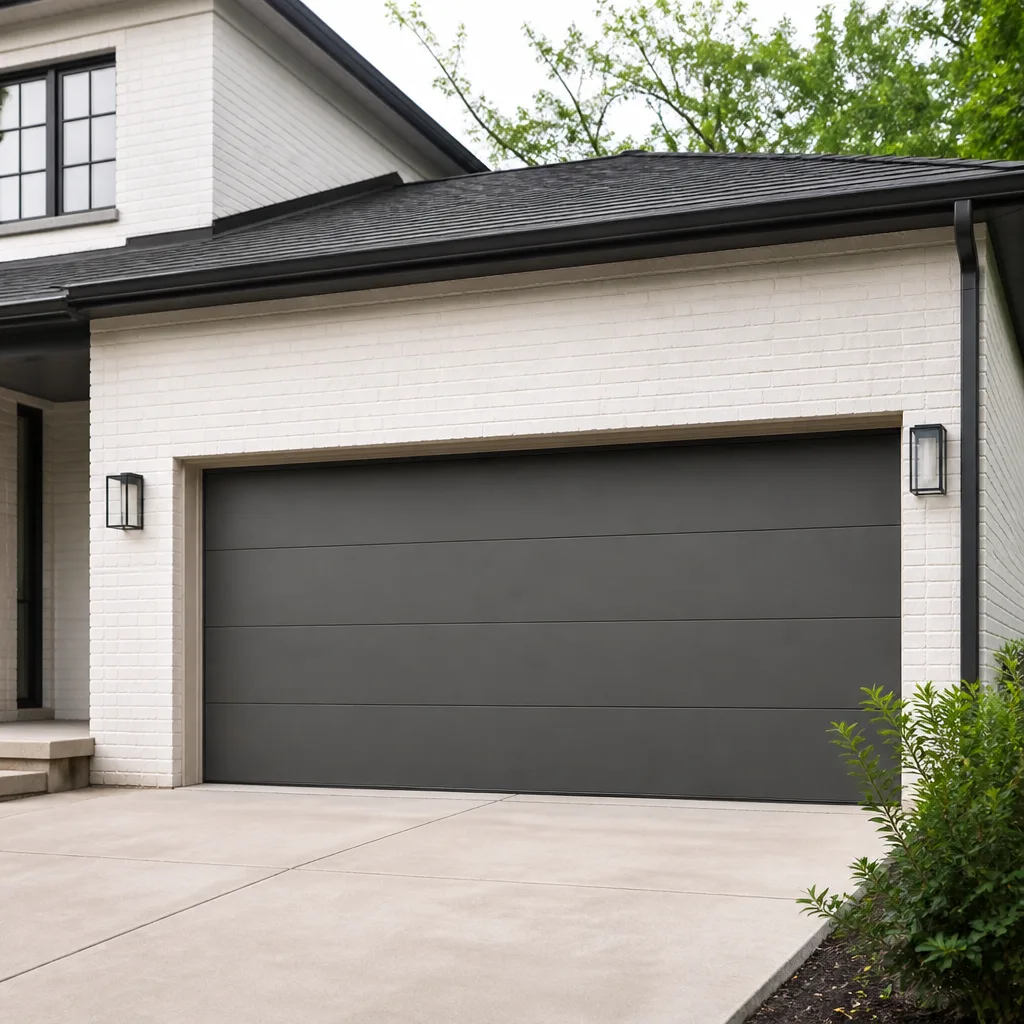 Modern flush
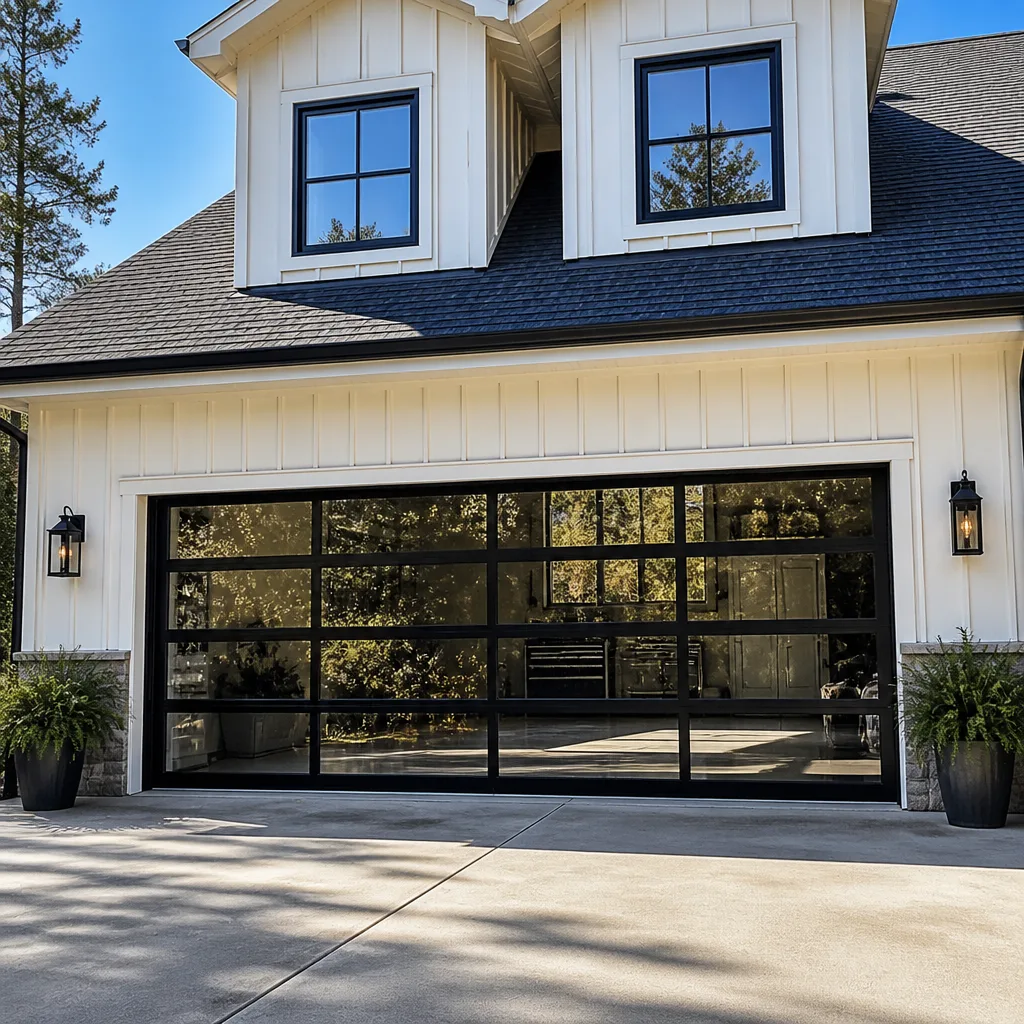 Full-view glass
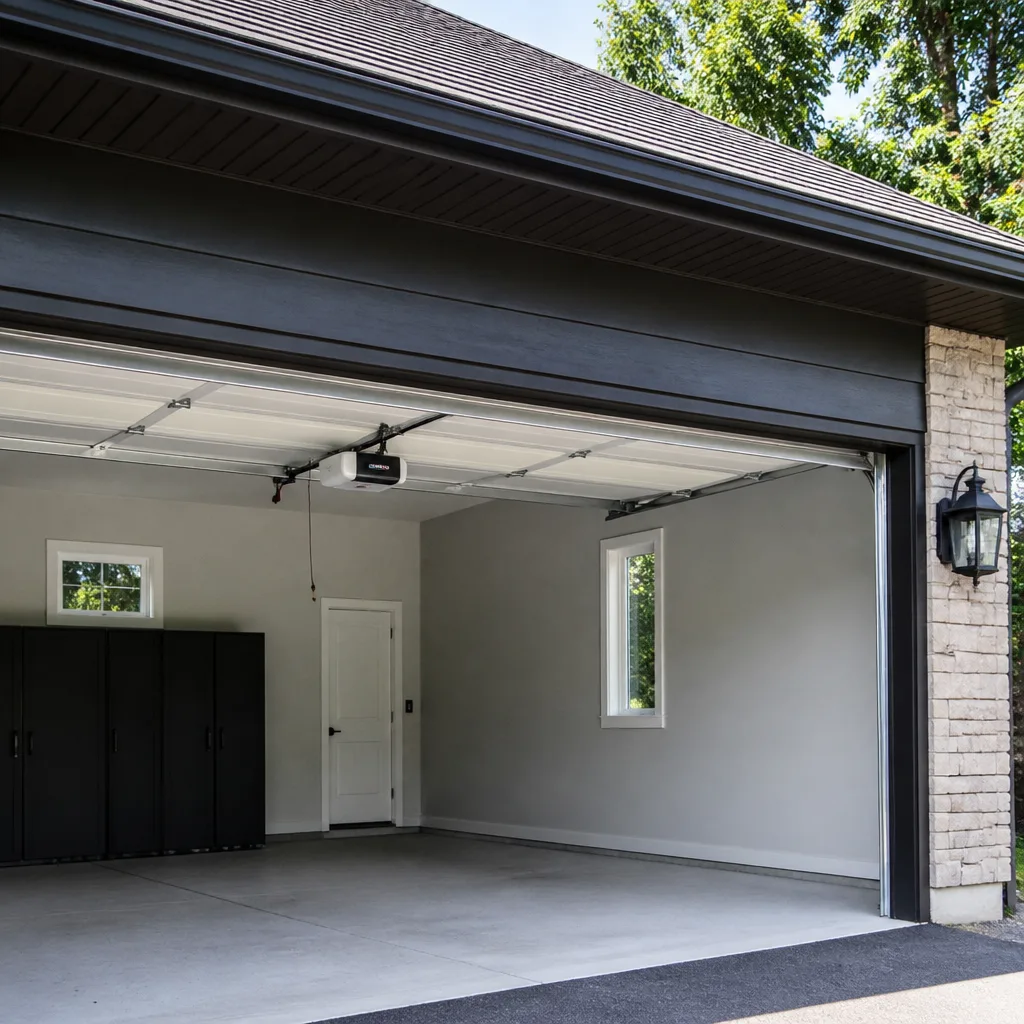 LiftMaster openers
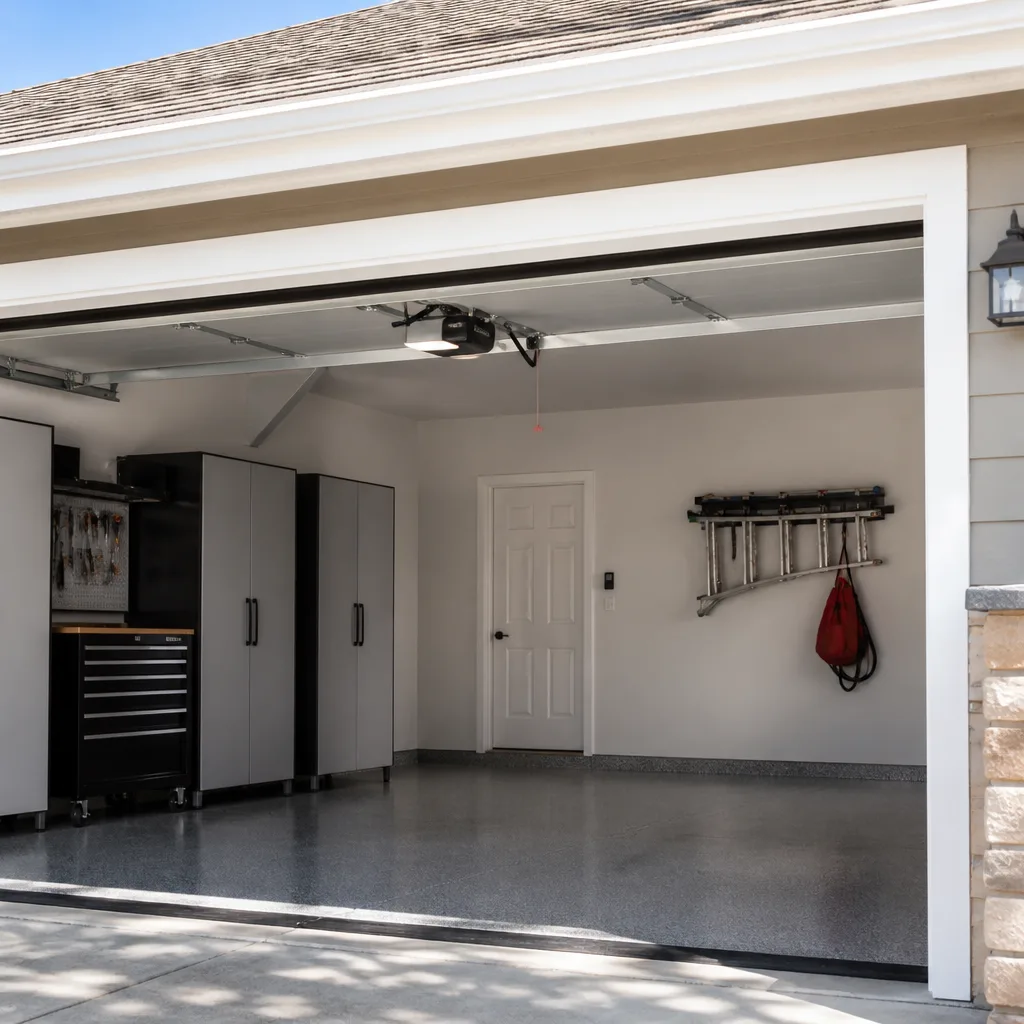 Chamberlain openers
Full 25-point door and opener safety check with every visit - springs, cables, rollers, tracks, and your LiftMaster or Chamberlain opener included
You get a price before we start. It does not change when the pro arrives.
Get your free estimateDIY vs Professional Garage Door: The Amarillo Homeowner’s Decision Guide
Most DIY garage door advice online treats the whole job as one decision: either you’re a hands-on homeowner or you’re not. That framing is wrong, and it’s where people get hurt. The real question isn’t whether you’re capable enough. It’s which specific tasks on a garage door are safely within reach for a careful homeowner, and which ones carry a physical risk or a liability exposure that no tutorial video can prepare you for. A torsion spring under tension stores enough energy to break bone, and that’s the honest reason trained technicians use steel winding bars instead of their hands. This guide draws a hard line between the two categories, shows you where DIY actually saves money in Amarillo, and explains what to do if a partial fix has already gone sideways.
Quick Answer
Safe garage door DIY in Amarillo covers lubrication, weatherstripping, cosmetic panel dents, and remote or keypad reprogramming. Spring replacement, cable winding, track realignment, and structural header work are not safe DIY jobs and should go to a trained technician. A professional repair usually costs less than the damage from a failed DIY attempt, and the written estimate you get before work starts is what you pay.
Styles & brands we work with
- Raised-panel steel
- Carriage house
- Modern flush
- Full-view glass
- LiftMaster openers
- Chamberlain openers
Table of Contents
- The Safety Line: Which Garage Door Tasks You Can Do Yourself
- Safe DIY Garage Door Tasks, Step by Step
- Why Springs, Cables, and Tracks Are Not DIY Jobs
- DIY vs Professional Cost: When DIY Saves Money and When It Costs More
- Amarillo Wind Load and Why a DIY Install Can Void Your Door’s Rating
- Opener Problems: Which Ones You Can Solve and Which Need a Technician
- How to Describe a Problem Accurately After a Partial DIY Fix
- Common Mistakes to Avoid
- When to Call a Professional
The Safety Line: Which Garage Door Tasks You Can Do Yourself
The line between safe DIY and stop-right-now has nothing to do with how handy you are. It has to do with stored energy and structural load. A garage door balances a few hundred pounds of weight against springs that are under continuous tension. Anything that touches that balance belongs to a trained technician. Anything that doesn’t touch the balance is fair game for a homeowner with a Saturday and a socket set.
We sort it into two clean lists so you know exactly where your authority ends.
Tasks that are safely DIY
- Lubrication. Hinges, rollers, and the torsion bar bearings on most doors benefit from a garage-door lubricant a couple of times a year. This is the single highest-value thing a homeowner can do to keep a door quiet and smooth.
- Weatherstripping replacement. The rubber seal along the bottom of the door and the trim seal around the frame both wear out. The bottom seal usually slides out of a track; frame seals are a trim job with a pry bar.
- Cosmetic panel dents. A shallow dent that hasn’t creased the steel can sometimes be worked out from behind with a block and gentle pressure. Cosmetic putty and touch-up paint handle the rest.
- Remote and keypad reprogramming. Matching a remote, adding a keypad code, or clearing old remotes out of a LiftMaster or Chamberlain opener is a manual-and-buttons job. No tools required.
- Visual inspections. Look at the cables, springs, and rollers from a safe distance. You’re looking for fraying, rust, or a gap in a spring coil, not fixing anything.
- Sensor alignment. The two safety sensors at the base of the track can be nudged back into line and wiped clean. A misaligned sensor is one of the most common reasons a door won’t close.
Tasks that are not safely DIY
- Torsion and extension spring replacement. These hold the full weight of the door under load. This is the task where DIY has a genuine stopping point.
- Cable winding and replacement. Cables are under tension and can snap with serious force if handled wrong.
- Track realignment. A track that’s out of plumb makes the door bind, and bending one back into place changes how the whole door travels.
- Structural header and framing work. If the wall above the door or the framing around it is failing, that’s a carpentry and structural problem, not a garage door problem.
- Opener motor or gear replacement. Any job that means taking the opener housing apart.
If a project lands in the second list, stop. Our garage door repair technicians handle exactly these tasks and can tell you in one visit whether a repair or a replacement makes more sense.
Safe DIY Garage Door Tasks, Step by Step
These are the jobs we’re comfortable telling you to take on yourself. Each one takes under an hour and doesn’t require touching any tensioned component. Amarillo’s dry air and dust mean doors here collect grit on the rollers faster than in humid climates, so a lubrication routine genuinely pays off.
Lubrication routine
- Close the door fully so it’s in its resting position.
- Apply a garage-door-specific lubricant, not WD-40, to each hinge pivot point, each roller bearing, and the torsion bar bearings.
- Wipe off excess so dust doesn’t stick and gum up the works.
- Run the door up and down once or twice and listen. A door that still grinds after a proper lube is a technician problem.
Twice a year is plenty. Spring and fall are easy markers.
Bottom weatherstripping replacement
- Find the track slot that holds the bottom seal and pull the old seal out from one end.
- Measure the width of the door and cut the new seal with a little extra.
- Feed the new seal in from one end and slide it through the full length.
- Trim the ends so it seats flush and check the seal against the floor with the door closed.
If the door has uneven gaps at the floor, that’s usually the threshold or a door balance issue rather than the seal itself.
Remote and keypad reprogramming
- Find the “learn” button on the opener head unit.
- Press it and then press the remote button within the window the opener allows.
- For a keypad, enter the existing code, hit the program key, and enter a new PIN.
- Test every remote you keep.
On a LiftMaster or Chamberlain system, if the learn button blinks but nothing syncs, the logic board may be the issue. That’s a technician call, not a remote problem. We service all three of the major opener lines, and the electronics are covered under our garage door opener repair work.
Why Springs, Cables, and Tracks Are Not DIY Jobs
A torsion spring holds the weight of the door through torque stored in the coil. When it’s wound, the energy is real and sudden. A technician uses winding bars and a deliberate sequence to release it; a homeowner without those tools is working with hands and hopes. Cables carry a similar risk. Track work seems harmless until you realize a bend or a misaligned roller changes the load on the whole system, and a door that binds can eventually fail at a hinge or fold a panel.
The safe handling rule is simple: don’t touch anything under tension, and don’t take a track apart. If you’re not sure whether a component is under load, treat it as if it is.
What a professional does on a spring job
- Confirms the spring is the problem and not a cable or a balance issue.
- Secures the door before touching the torsion bar.
- Uses a winding bar and the correct number of quarter turns for the door weight and spring size.
- Tests balance and reverses the door under load before calling it done.
- Checks the cables and rollers while the door is open.
Because spring work always happens on a door that’s already not working, we treat it as same-day work whenever we can. We answer 24/7 and dispatch from 7am to 7pm, Sunday through Friday, so a broken spring on a Sunday still gets booked into the next opening. A matched pair of springs is usually replaced together; replacing one when the other is the same age tends to leave a homeowner back on the phone in short order.
DIY vs Professional Cost: When DIY Saves Money and When It Costs More
DIY saves money on the lubricant-and-weatherstripping category, full stop. A tube of door lube and a new bottom seal are cheap and the job is quick. DIY costs more than hiring out the moment it involves a spring, a cable, a track, or a full door installation. That’s not because the part is expensive. It’s because a failed DIY attempt on a tensioned component usually means you pay for the repair and then pay again to undo the damage.
Where the comparison breaks down
- Lubrication and weatherstripping: DIY always wins. Material cost is small, no risk, no callback.
- Dents and cosmetic repair: DIY can save money on shallow dents, but a creased or rusted panel is usually cheaper to replace than to repair badly.
- Remote/keypad work: DIY is fine unless the logic board or receiver is failing. Then the part cost plus the diagnostic makes a technician call the cheaper option.
- Spring replacement: A DIY spring purchase plus a botched repair plus a professional call to fix it costs more than a professional job from the start.
- Full door installation: A new door means measuring, anchoring, spring tensioning, and setting an opener, and a gap in any of those steps is expensive to correct.
- Opener motor or gear: Modern openers involve a circuit board and a light assembly, and the wrong part costs more than the diagnosis.
We quote every job by estimate before work starts. If the estimate changes once a technician sees the door in person, you hear that before any work continues. There are no surprises on the invoice. If you’ve been thinking about installing a new door, that job is measured and scheduled, not same-day, and the free measure and written price will tell you exactly where a professional install sits against the quoted price of doing it badly yourself.
Amarillo Wind Load and Why a DIY Install Can Void Your Door’s Rating
Amarillo sits on open plains where wind is a constant. That matters for garage doors more than most homeowners realize. Residential doors are rated for wind exposure, and the rating depends on how the door is anchored, how the struts are installed, and how the reinforcement is spec’d for the door weight and opening width. A door installed without those specific parts and anchoring steps doesn’t carry the same rating it was sold with.
DIY isn’t just a safety question. It’s a building-code and manufacturer-rating question. Local code on wind exposure is set by the City of Amarillo’s building department, and the manufacturer’s install requirements are written down in the door’s own instructions. If either one isn’t met, the rating may not apply. If you’re unsure about a specific door, ask the city’s building department what the current requirement is for your address before committing.
What proper installation actually includes
- Confirm the opening is square, plumb, and within tolerance for the door being installed.
- Anchor the tracks to structure, not just to trim, at the correct spacing for the door’s width and weight.
- Install the struts and reinforcement the manufacturer calls for on that door model.
- Tension the springs for the door’s actual weight and check balance across the full travel.
- Set limits and force on the opener, and test safety reverse with a physical block.
That last step is where most DIY installations fall short. The opener’s reverse test is a safety device, not a feature. Our Amarillo installation work covers new construction and replacement installs, door brands like Clopay, Amarr, Wayne Dalton, and Raynor, and we quote the whole job in writing before any part is ordered.
Opener Problems: Which Ones You Can Solve and Which Need a Technician
Openers are usually the first component to go. The symptoms feel similar, but the causes are very different, and the fix ranges from “press this button” to “the logic board has failed.” Here’s the honest breakdown.
What you can usually solve yourself
- Door doesn’t respond to the remote: check the battery and re-pair the remote. If one remote works and another doesn’t, it’s the remote.
- Wall button works, remote doesn’t: it’s the receiver or the remote pairing, not the motor.
- Door closes then reverses: check the safety sensors first. Look for debris, a spider web, or a bumped sensor bracket.
- Keypad code fails: reprogram it. Most keypads have a simple reset sequence.
What needs a technician
- Door hums but doesn’t move: gear or motor issue.
- Door moves in one direction only: limit switch or travel setting, but needs a careful reset.
- Lights flash a code: the opener is reporting a specific fault, and the code tells a trained technician what’s wrong.
- Opener runs but the door doesn’t: the operator is spinning but not engaging the door. This is a gear or coupling issue.
- Any opener that’s had a DIY repair attempt already: wiring and board work done wrong can turn a simple fix into an opener replacement.
Our technicians have up to 15 years of experience across LiftMaster, Chamberlain, Genie, and Craftsman systems, and we work on what you already have rather than pushing a new opener when the existing one can be repaired. The brand on the housing shouldn’t change the answer.
How to Describe a Problem Accurately After a Partial DIY Fix
If you’ve already tried something and it didn’t fix the problem, or made it worse, say so up front. The most useful thing a homeowner can do before calling is to write down three things: what the door was doing before the attempt, what you did, and what it does now. A vague call (“the door is broken”) costs diagnostic time; a specific one saves it.
A short script that works
- State the door brand and opener brand if you know them. Clopay and Raynor doors, and LiftMaster, Chamberlain, Genie, or Craftsman openers, all have different service patterns that we already know.
- Describe the symptom in sequence: what happens when you press the button, then what the door does, then what happens at the end of travel.
- Name the part you touched, if any. “I pulled the red emergency release” is critical context. So is “I adjusted a limit screw.”
- Say whether the door is balanced by hand with the opener disconnected. If it isn’t, that tells the technician what kind of job it is before they arrive.
- Note any sounds you hear. A grinding sound from the opener points one direction; a pop from the spring points another.
You don’t need to diagnose anything. You just need to hand over a clean factual picture so the technician brings the right parts and the right approach. Honest, factual reporting is how a partial fix stays a small fix.
Common Mistakes to Avoid
- Buying a spring online and installing it yourself. Springs are tensioned for a specific door weight, and a mismatch will either leave the door heavy or cause the door to slam. This is the single most common cause of a larger repair bill than the original problem.
- Trying to force a stuck door past a bind. A door that’s binding on one side is telling you a cable or a track is out of position. Forcing it damages the panel and the opener.
- Assuming a new door is the only fix for a noisy one. Nine times out of ten, noise is lubrication and roller wear. A quick lube and a roller swap can fix a door that sounds much worse than it is.
- Installing a door or strut kit without checking Amarillo wind requirements. A door installed without the correct anchoring and reinforcement may not carry the rating it was sold with. Verify with the City of Amarillo building department first.
- Reprogramming a remote and expecting it to fix a dead opener. If the opener’s learn button doesn’t respond, the problem is the board, not the remote.
- Mixing brands on a repair part. A universal spring may physically fit but won’t balance a door tuned for Clopay’s or Amarr’s spec. Match the part to the door.
- Waiting on a slow door until it fails completely. A door that’s getting sluggish and noisy over weeks is giving you notice. Small fixes addressed early cost less than emergency work.
When to Call a Professional
Call a professional for any task that touches a spring, a cable, a track, or the structural header of the opening. Also call if the door has become unbalanced, if the opener is flashing a fault code, if the door reverses or doesn’t reverse on test, or if a previous DIY attempt didn’t quite fix the problem. These are the situations where the cost of a professional visit is small compared with the cost of a failed repair.
Gibson Garage Door Repair offers free estimates in Amarillo – call (888) 274-6713. We answer 24/7, fast dispatch from 7am to 7pm, Sunday through Friday. Garage doors are all we do, and we work on what you already have instead of pushing an unnecessary replacement. Our technicians are licensed and insured, and every job is quoted in writing before work starts. If you’re in Amarillo or the surrounding area, we’ll give you a straight answer on whether your door needs a repair, an opener service, or a full install.
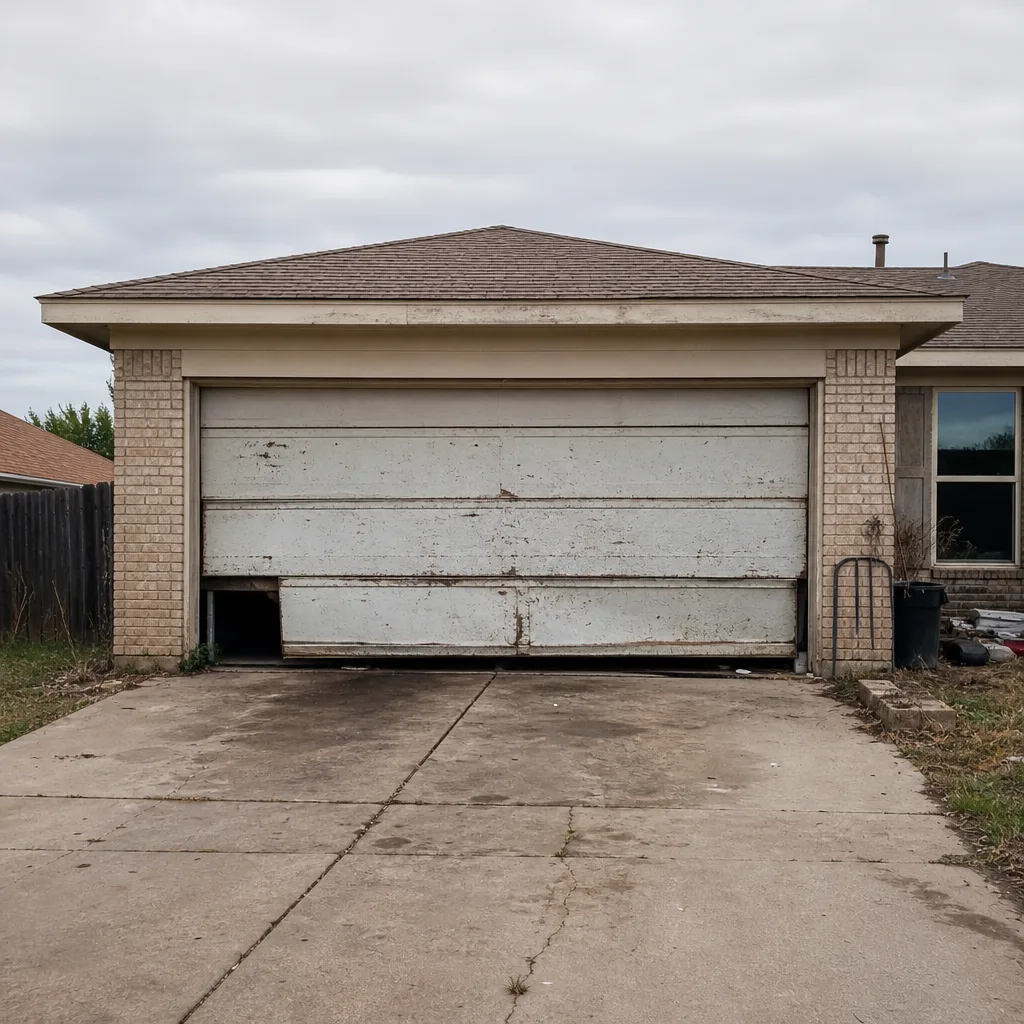
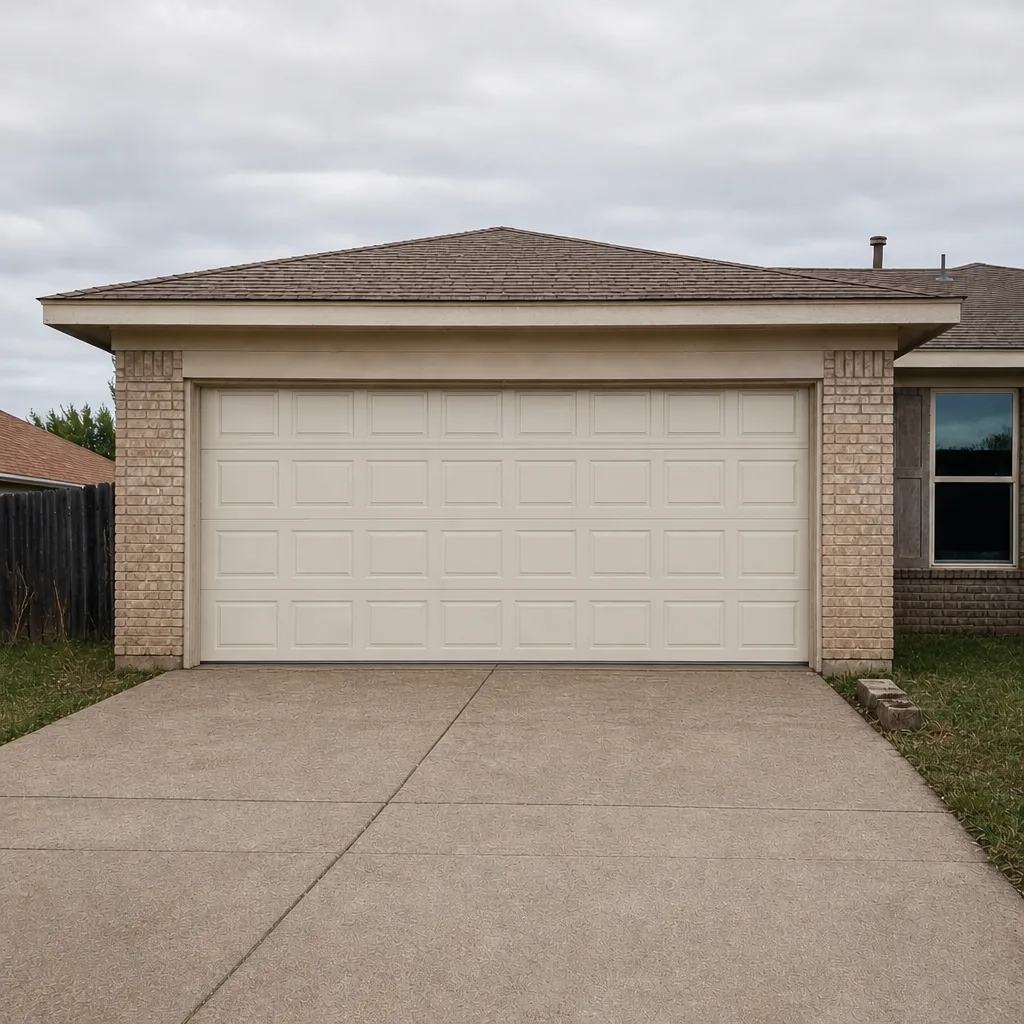
See the difference
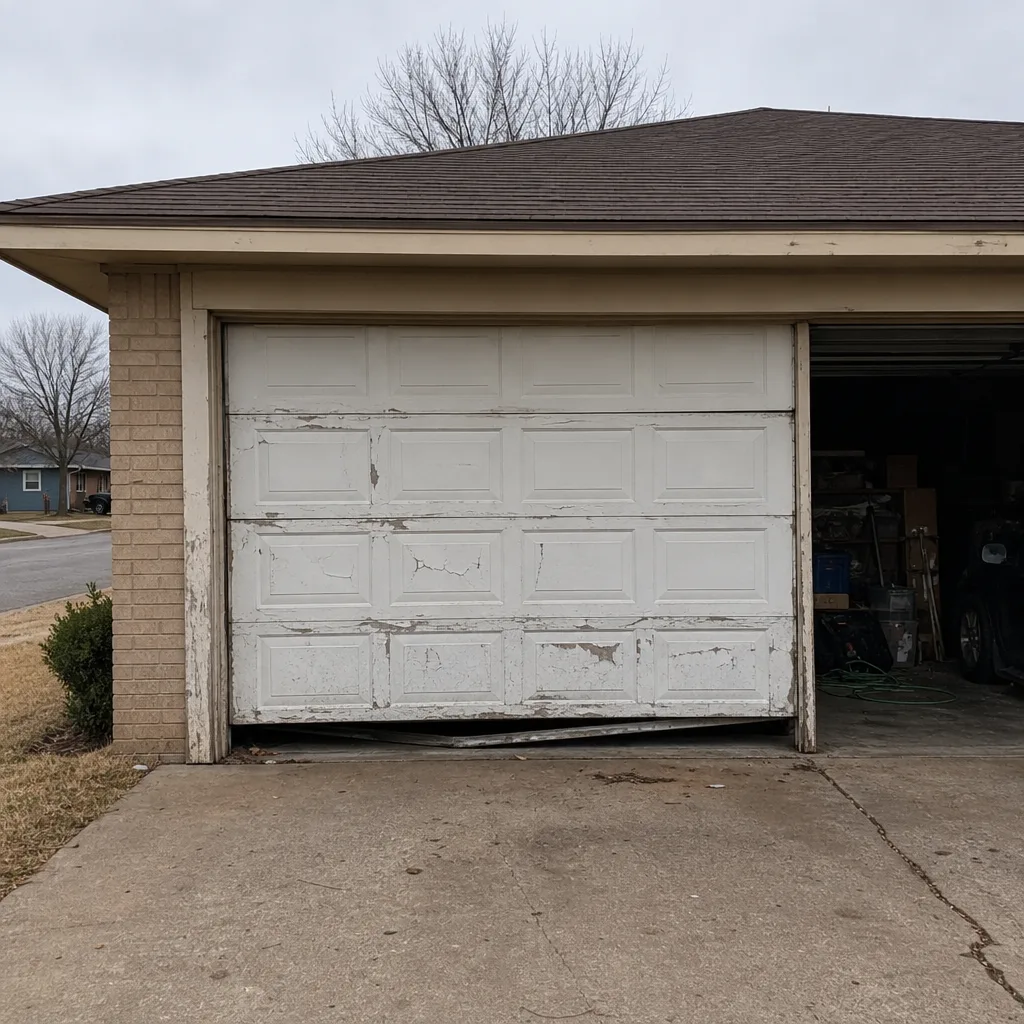 Before
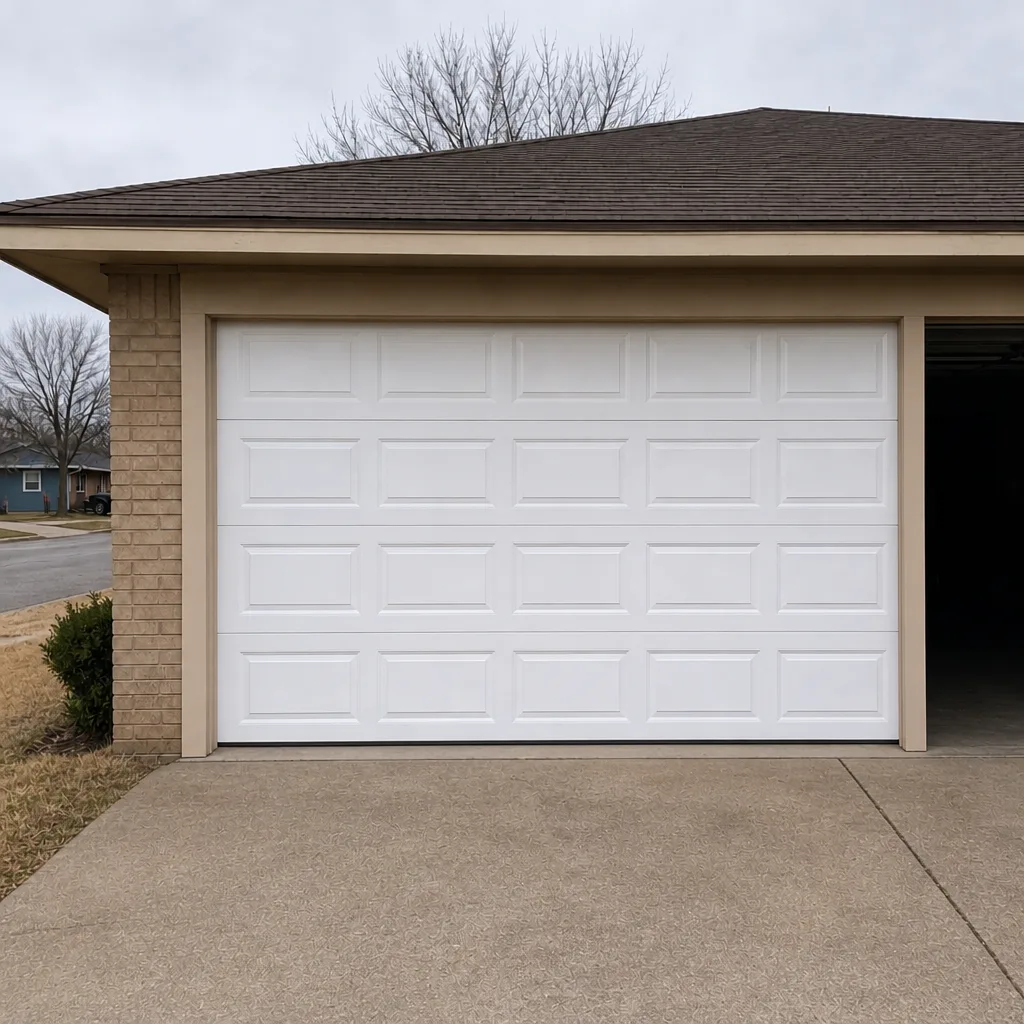 After
 Before
 After
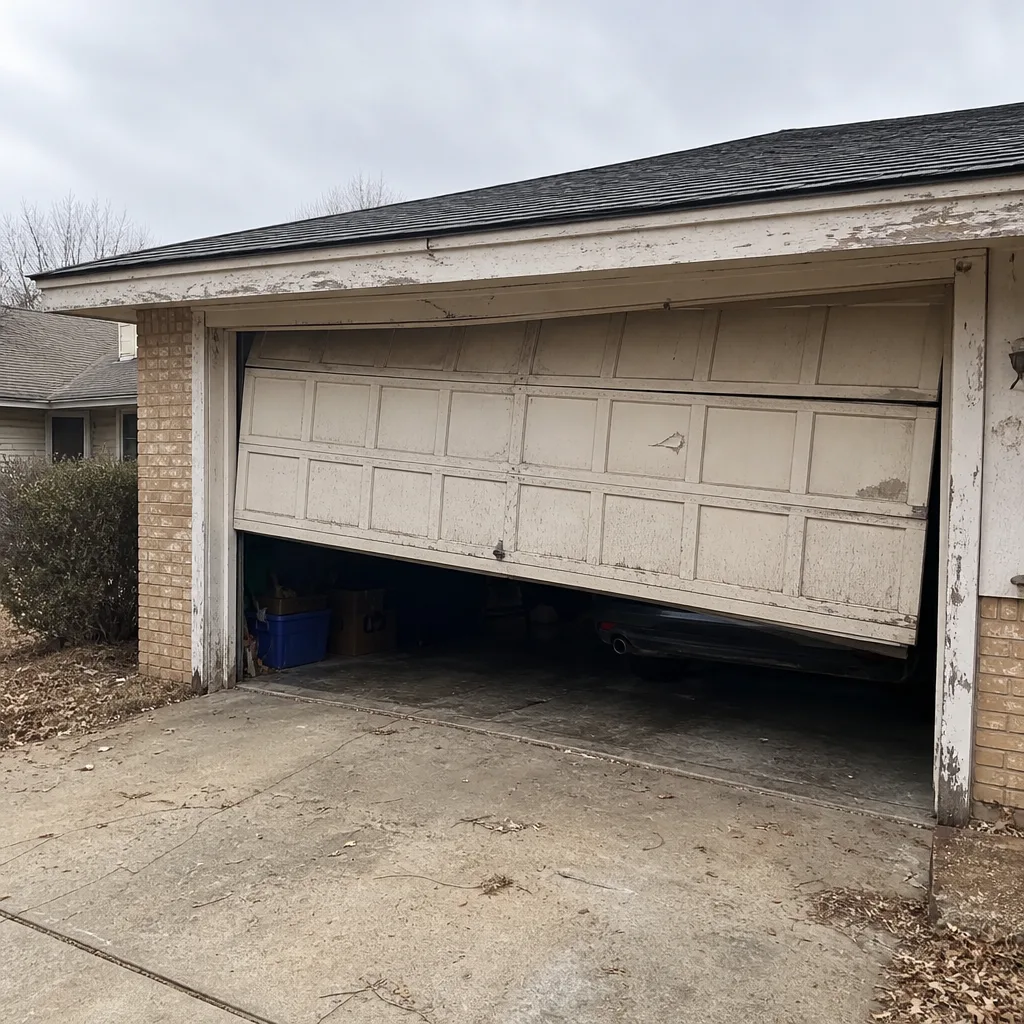 Before
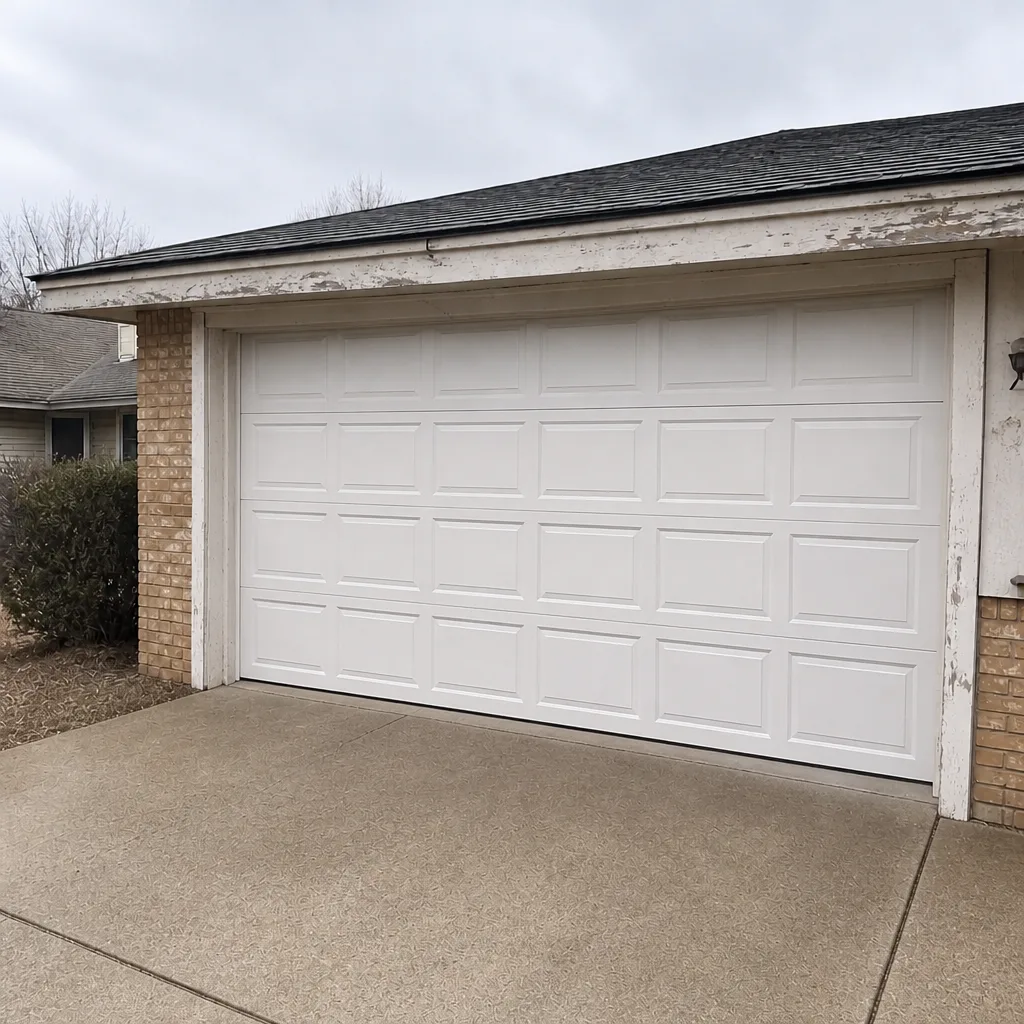 After
Frequently Asked Questions
No. Garage door springs are under enough tension to cause serious injury if they slip, and replacing one without proper winding bars is not a safe homeowner job. A trained technician confirms the spring size, uses a winding bar, and tests the door under load. Call (888) 274-6713 for a free estimate if your spring has broken.
Lubrication, weatherstripping, cosmetic dent repair, remote and keypad reprogramming, and safety sensor alignment are all safe DIY tasks. Anything involving springs, cables, tracks, or the opener’s internal parts should go to a technician. If you’re not sure which category a task falls into, treat it as professional work.
A botched DIY repair usually costs more than a professional repair would have, because you pay for the failed attempt and then pay to fix both the original problem and the damage. A professional estimate before work starts is always lower than a repair after a failed attempt. Call (888) 274-6713 for a free quote.
It can, yes. A door’s wind rating depends on the specific anchoring, struts, and reinforcement the manufacturer calls for on that model and opening width, and skipping those steps may mean the rating no longer applies. Ask the City of Amarillo building department what the requirement is for your address, and have a professional install if you want the rating to hold.
Yes. We can book a same-day technician for most repairs, and a partial disassembly is not a problem. Tell us what you took apart and what the door is doing now. We answer 24/7, fast dispatch from 7am to 7pm, Sunday through Friday.
Yes. We service LiftMaster, Chamberlain, Genie, and Craftsman openers, along with Clopay, Amarr, Wayne Dalton, and Raynor doors. We work on what you already have rather than pushing a replacement, and a free estimate tells you what’s actually wrong. Call (888) 274-6713.
The Bottom Line
The DIY vs professional question for a garage door has a clean answer: handle lubrication, weatherstripping, cosmetics, and remotes yourself, and hand off anything that touches a spring, a cable, a track, or the structural header. In Amarillo, the extra wrinkle is wind load. A door installed without the right anchors and reinforcement may not carry the rating it was sold with, and that’s a risk you can’t see by looking at the door. If you’re on the fence about a repair, the fastest way to know is a free estimate. As a team, we’ve seen how a small, early repair usually saves the most money over time. Call Gibson Garage Door Repair at (888) 274-6713 and we’ll give you a straight answer, no upsell. We answer 24/7, fast dispatch from 7am to 7pm, Sunday through Friday.
Written by the team at Gibson Garage Door Repair.